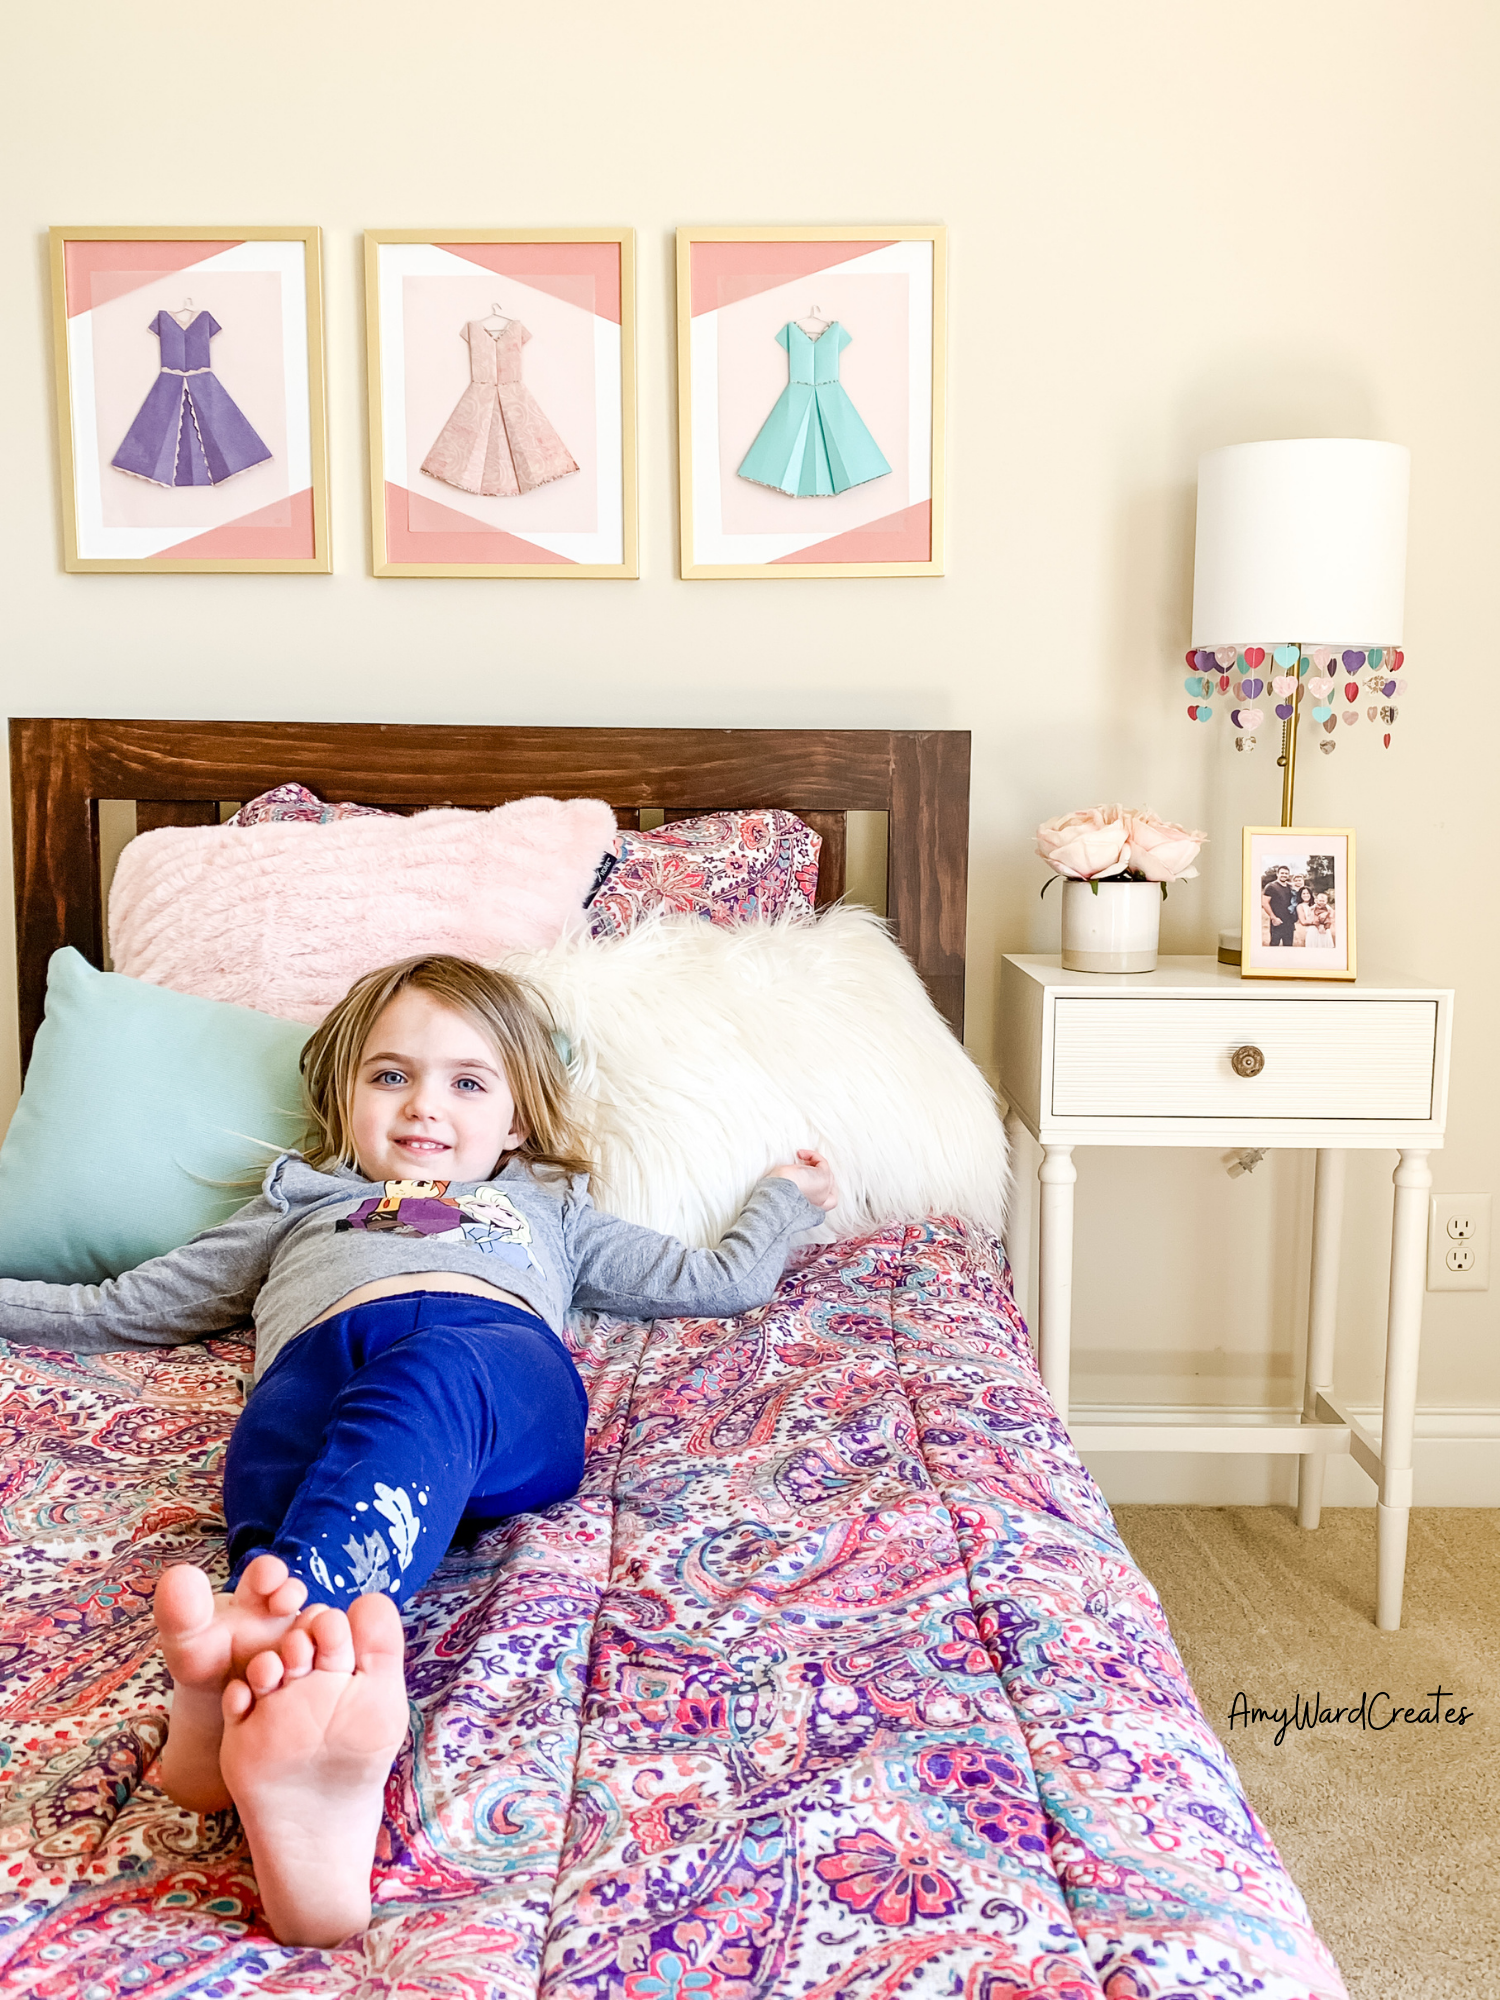
A Princess Room Decorated with Paper
I love paper! I collect paper like a quilter collects fabric. What do I do with all that paper? Well, I decorate.
Decorate with paper? What do you mean? How do you decorate with paper?
Paper origami dresses grace the walls while paper heart fringe adorn the lamp.
I’ve been asked that a lot over the years and when I explain it, it sounds ridiculous. For example, sometimes I frame it. Sometimes I glue paper to something that needs sprucing up like a notebook cover or an obtrusive thermostat! (See below.)
At one time, I even used a printed vellum (a semi-transparent paper) to make a window treatment. I taped it up with scotch tape! It was supposed to be a temporary fix for a party but it worked so well it stayed up for years!
Paper dresses and paper garland
Today’s post, though, is all about using paper to decorate a little girl’s room. The coolest thing about this is EVERYTHING is customizable! There are so many scrapbook paper choices and being able to purchase by the sheet is a bonus and it’s what makes decorating with paper so much fun!
Besides scrapbook paper, I have also used regular origami paper, wrapping paper, and card stock to make these dresses. Just about any paper will do.
So take a pillow sham from your bedding to your local craft store and match it to 3 sheets of your favorite paper!
Each dress took 1 sheet of scrapbook paper cut to 8 1/2 inches by 8 1/2 inches square. I used 3 sheets of light pink vellum behind each dress with an added 3 sheets of darker pink (I cut off the corners of the paper to make triangles) to give the frames more interest. That is a total of 9 sheets. I made the heart fringe for the lamp out of the scraps.
The total cost was approximately $3.80 because some of the papers (shimmery!) were $1 each! (Woot… Woot… to craft store weekly sales!) But if it weren’t for the super expensive paper, I could have actually made all of this for under $2!
Thank you to Shannon from EverydayBest.com for the “Barbie hanger made from a paper clip” idea. It was perfect for adding a hanger to these adorable origami dresses.
The origami dress is simple to fold from a 8 1/2 by 8 1/2 inch square paper. Practice on computer paper first!
The heart garland fringe on the lamp requires simple, straight sewing but is so worth the effort when the price is pennies. Here is the video tutorial for the whole thing:
The results are a classy and tasteful princess dress room! Little Olivia was thrilled! (Thank you, Melissa for lending me Olivia’s room!)
Easy, adorable, and super affordable… decorate with paper! You’ll be glad you did.
Happy Creating, Amy
Materials:
3 sheets of scrapbook or wrapping paper - 8 1/2 by 81/2 inches square
Extra paper for embellishments - up to 6 sheets
Large paper clips for mini hangers (about 2 inches long)
Wire snips and/or pliers
Paper punch
Sewing machine (for paper heart fringe)
Glue or tape
Directions:
Fold origami dresses. (See video for instructions) Add trims and embellishments.
Bend paperclip into a little hanger.
Glue or tape hanger to the back of the origami dress. Frame.
Use the paper scraps to punch out heart or other shape.
Sew hearts together to form strings. Sew the strings to a long strip of paper to make fringe. (See below.)
Glue or tape strip of hearts inside of the lamp.
Any questions or suggestions? Please leave me a comment!


