
Natural Wood Furniture Makeover
A few months ago I realized it was time to update a kid’s bedroom to a guest bedroom. One of the baby birds had left the nest which I gotta be honest, was harder on me than I expected. So what better way to lift my spirits than to redesign a WHOLE room! Woot, woot!
I like to keep things fresh and updated in my home but, like most people, I do not have unlimited funds. So, I have to be smart about what I buy, what I reuse, and what I pitch.
One of easiest and best ways to keep costs down without sacrificing quality of design is reusing or updating old furniture. I had a bed but I needed a nightstand.
I could go the easy route and paint an old one but lately I find myself missing the warmth of natural wood.

It took some planning to get it this way! Keep reading to find out how!
What to do? I shopped around for beachy wood nightstands online and in stores but there was always something wrong with them - too orangeish… too grey… bad reviews… too dark… too flimsy looking. Nothing was turning my crank for style AND affordability.
There was really only one thing left to do…. strip an old nightstand down to the bare wood and refinish it.
Yes, stripping furniture is messy and difficult but I decided the nightstand for this bedroom HAD to have the wood grain showing! It was just a feeling.
Here are my reasons why you should go through the hassle of stripping vintage furniture.
1. Vintage furniture is usually quality furniture.
2. Aged wood is full of character and charm.
3. Vintage furniture can be inexpensive or in some cases free (any heirloom pieces in the attic?)
Have I convinced you yet? To make it easier, I developed a foolproof three-step process on HOW to pick a piece of vintage or old furniture and update it to a one-of-a-kind amazingness.
I will walk you through how I found and refinished the guest bedroom nightstand.
STEP ONE – Look for Inspiration
I begin all big projects by making a Pinterest board. My board was called “Guest Bedroom”. You can view and follow it HERE.
Next, I visit my favorite online stores for nightstand inspiration: Pottery Barn, Wayfair, Restoration Hardware, Serena and Lily, Joss and Main, Home Goods and even Amazon, Home Depot, and Hobby Lobby!
I pin all pieces I like regardless of price. Below are the inspiration pieces for my guest bedroom nightstand:

Above: My inspiration from online stores.
STEP TWO – Find a Similar Piece
I start looking for second-hand pieces that look similar. They might not look exactly the same, but I keep an open mind and use my imagination to picture them differently.
My second-hand resources for furniture are yard sales, auctions, flea markets and Facebook Marketplace.
Here were the possible options I found on Facebook Marketplace.

Above: Pictures of available nightstands for sale.
I ignore the color and look at the shape first. I look for similarities between the two groups.
For example, E and #1 have similar legs. D and #1 have similar styles (without the towel bars and backsplash). F and C are similar with #2. I could add legs to #3 and #4 so it would be similar to B, C and F.
Keep in mind there are really only three things you can do to modify a piece of furniture:
Remove an element. (handles, knobs, trim, backsplash…).
Add an element. (new legs, trim, handles, knobs…).
Change the finish. (paint, strip to bare wood, lighten, darken, wax, stain or varnish…)
STEP THREE – Plan Your Project
And the winner is #1!!
I bought #1 for a few reasons. It was definitely real wood. It was a good price and there were two of them. One had a bad top but I could experiment on it before I went to the good one which is exactly what I did.
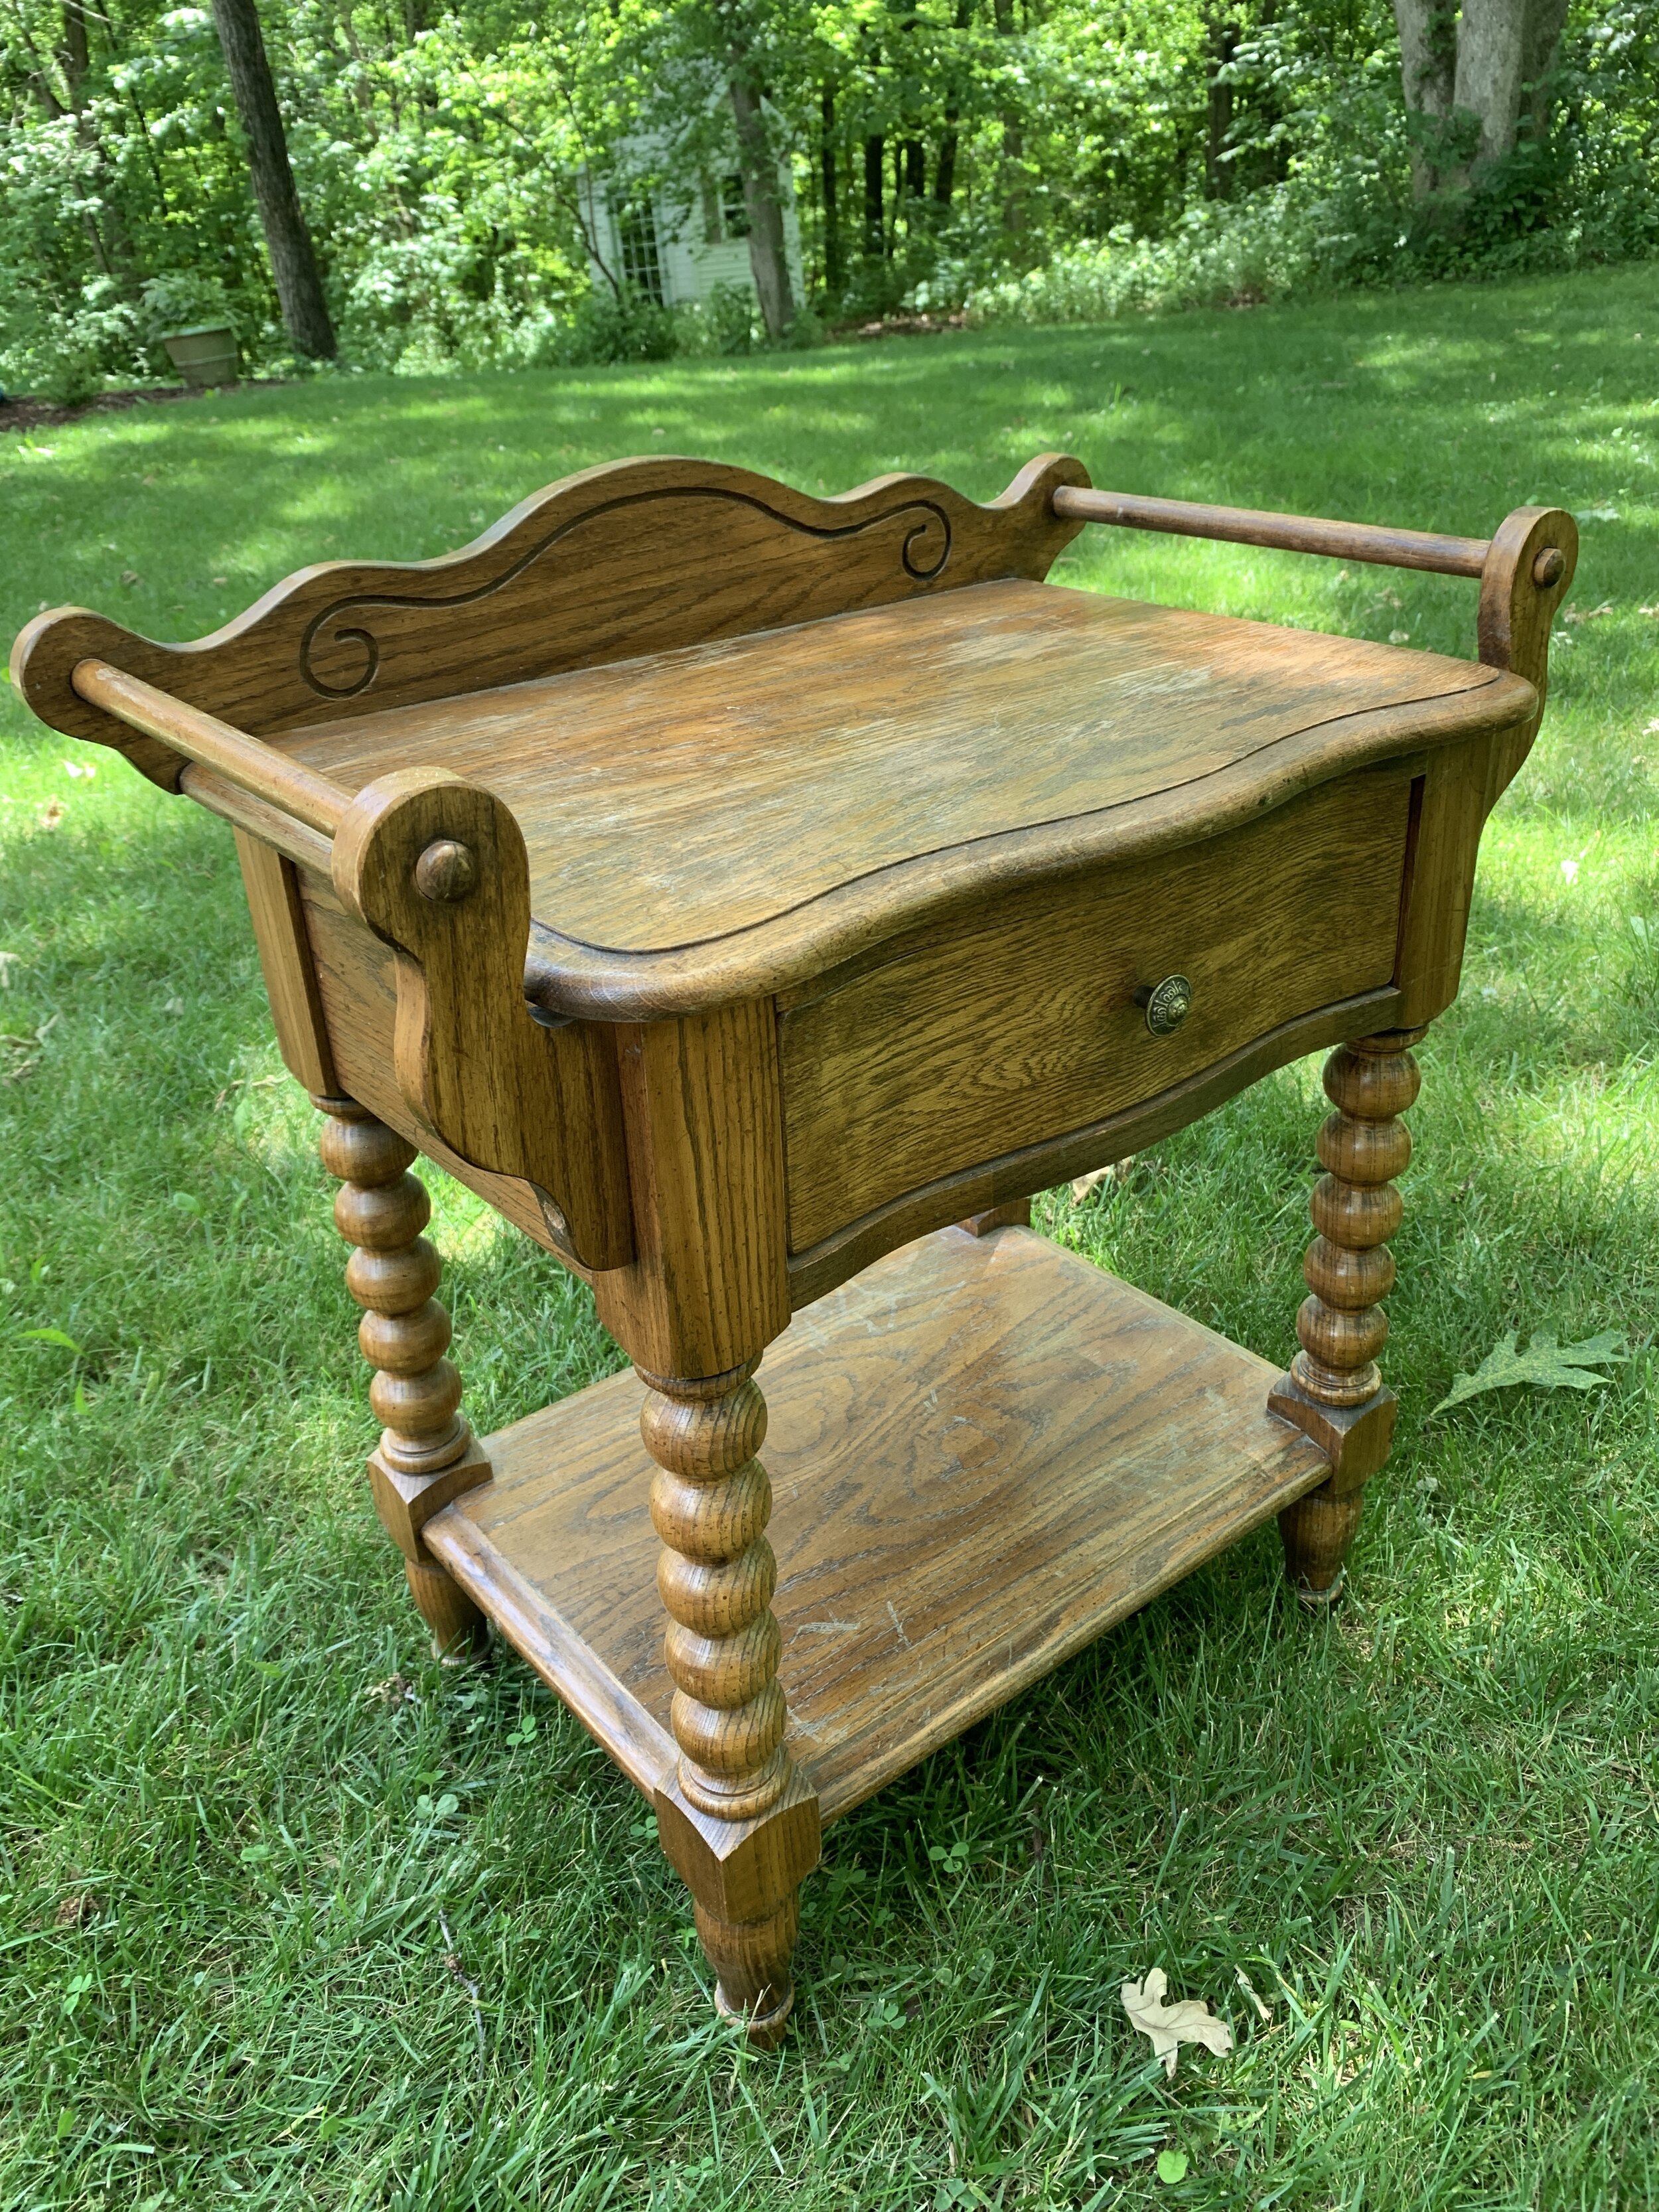
My plan was to remove the backsplash and the towel rack, strip off the finish, sand heavily and then wax the natural finish. I used a screwdriver, saw, chisel and hammer to remove the extra pieces. Hubby helped.

1. The screw would not move so hubby helped me chisel the wood off. 2/3. We used an allen wrench for the screw and a saw to cut off the dowel.
Before we removed the back, we traced the backsplash so we could cut it out with a bandsaw and glue it back in place. This wasn’t necessary but carpenter-hubby insisted.

1. Here is hubby tracing the back piece to cut off and glue back in place. 2. The extra pieces. 3. The new shape of the nightstand - much better!
I was going for a beachy, washed-out wood look so the finish and stain had to go. I used CitriStrip paint and Varnish Stripping Gel. I followed the directions and used all the materials in the picture below.

1. Items you will use for stripping and refinishing. 2. The CitriStrip doing its job. 3. The scraped off smudge - blek!
I felt the nightstand needed to be a bit taller because of the bed so carpenter hubby added some thick dowel rods using long screws and glue. This is an optional modification but one I felt necessary for the room it was for.

1. Screw in and wood glue applied. 2. Screwing on the height extension. 3. Two inches taller. DONE!
The sanding begins. I used a radial sander where I could but those legs… THOSE LEGS WERE A NIGHTMARE until…
I discovered a wonderful way to sand (which I share in the video below) and I will never be the same. It was life changing…
After sanding and wiping down the entire nightstand with a rag, I waxed it with Minwax Paste Finishing Wax in natural. This wax was so much cheaper than some of the boutique-y waxs (Annie Sloan or Amy Howard) so I thought why not give it a try. It worked just the same.
I love the variation in the wood tones in the modified version. And the aged wood brings out all kinds of character from the wood grain to the difference in colors. I love it. However…

New and improved piece in the front with unstripped piece in the back.
I thought I was done, but alas, I felt it was a little too yellowy- orange for that beachy feel. I needed to tone it down a bit.
After much research on liming wax, bleaching, white washing, and such, I bought Cerusing Wax by Amy Howard for two reasons: 1. It was more liquidy than liming wax and I wanted an ever-so-light wisp of white on the surface and 2. It was at my local Ace Hardware Store.

It worked fantastic and I would totally recommend it.
Well - here is the final product in the room! The rest of the room is still a work in progress and I will be sharing soon!

Stay tuned and in the meantime, go strip some furniture!
Happy Creating! Amy